The Kidblog website has great help services to guide you through the technology side of this resource.
But, if you need any extra help, below are 2 step-by-step process to create a blog and to give kids access to the code.
But, if you need any extra help, below are 2 step-by-step process to create a blog and to give kids access to the code.
How to create a class blog
Before students are able to make design decisions and post to the blog you, as the teacher, need to create the blog. Kidblog has a free trial or you can subscribe to the program for a year for $36.
Step 1. Click on the button below to go to the Kidblog website.
Step 1. Click on the button below to go to the Kidblog website.
Step 2. Click on the Teacher Sign Up for Free tab and create an account.
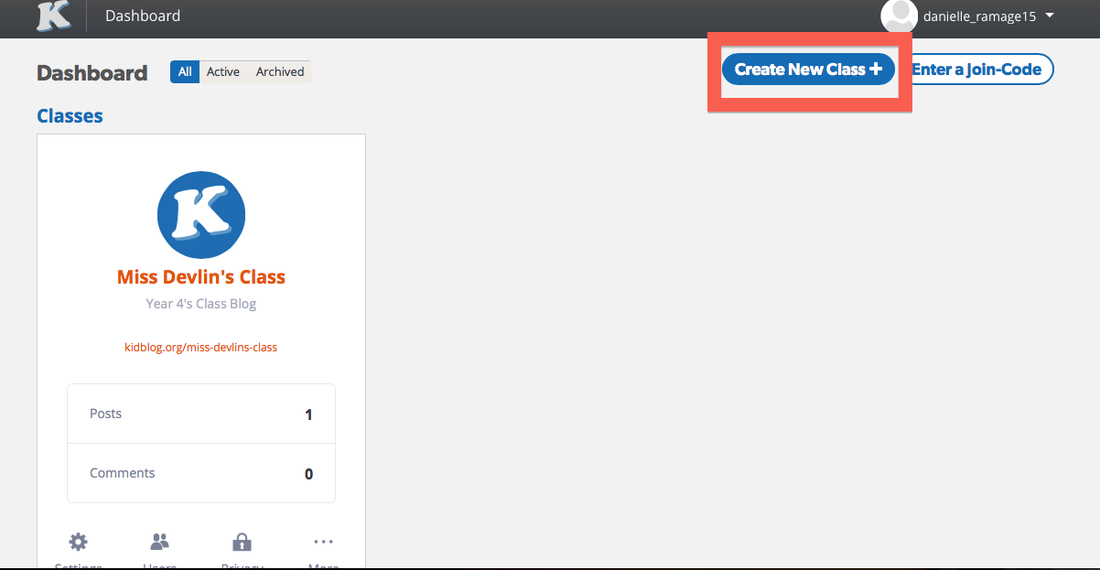
Step 3. Click on the Create a New Class button in the top right corner of the page. This is pictured below.
Step 3. Click on the Create a New Class button in the top right corner of the page. This is pictured below.
Step 4. Type in a name and description for the blog and click Create Class.
Step 5. That's it! You can now access this blog in stage 3 of the design where students explore the privacy settings and choose a theme for the blog.
Step 5. That's it! You can now access this blog in stage 3 of the design where students explore the privacy settings and choose a theme for the blog.
How to give student's access to the blog
In order for students to create a post in their groups they need a code to access the blog. As the teacher you need to create the code.
Step 1. Go to the Kidblog webpage and login. (A link is provided below)
Step 1. Go to the Kidblog webpage and login. (A link is provided below)
Step 2. Click on your class blog.
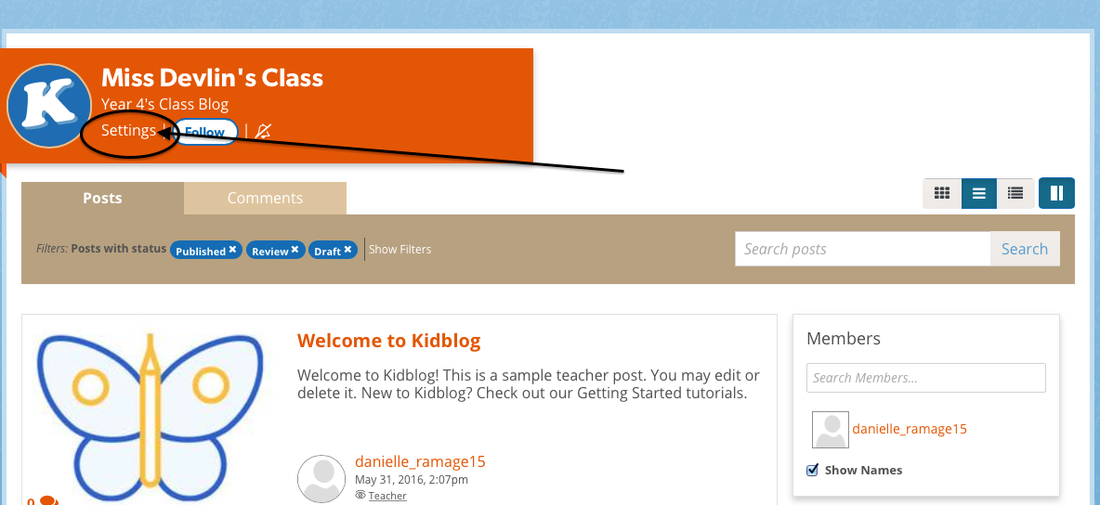
Step 3. Go into the Settings of the blog. This is pictured below.
Step 3. Go into the Settings of the blog. This is pictured below.
Step 4. Click on Users along the top menu.
Step 5. Click on Join-Codes in the top right corner.
Step 6. Enable the student join-code.
Step 7. Students will need this code in order to post to the class blog.
Step 5. Click on Join-Codes in the top right corner.
Step 6. Enable the student join-code.
Step 7. Students will need this code in order to post to the class blog.